"Building Railo Extensions Part 2: Setting up a debug environment"
In the first part of this series I looked at creating an extension and an extension provider which suited my needs.
In this post I shall be looking at getting Railo server into your Eclipse project so that you can debug your code.
So that we can keep it all neat and tidy, I am going to create a project in Eclipse, that will contain the source code for the extension, the extension provider, and Jetty running Railo.
Why would I put ALL of this in one project you might ask (you might?). I want to be able to debug the server itself, set breakpoints and check variables as I write my code.
First off, lets create a Java Project in Eclipse: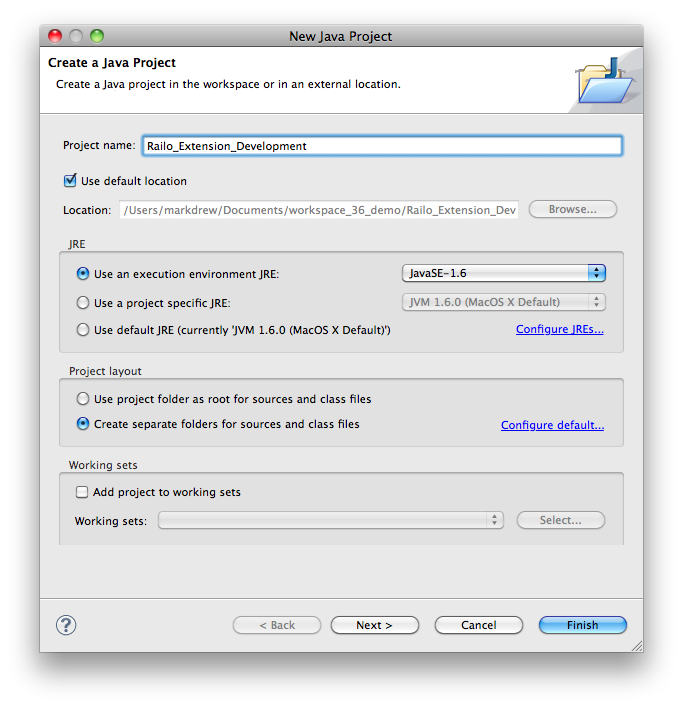
Then we remove the src, folder, we shall be changing this later on since we want it all in the web root:
Now we have an empty project with a src folder that isn't our source folder.
Next, we are going to download the Railo express version from http://www.getrailo.org/index.cfm/download/ , I got the railo-express version for Mac OSX 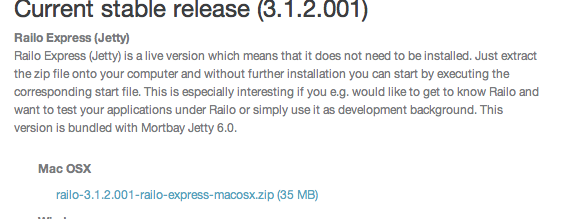
Once you have downloaded and unzipped it, you should have a directory listing as shown in the screenshot: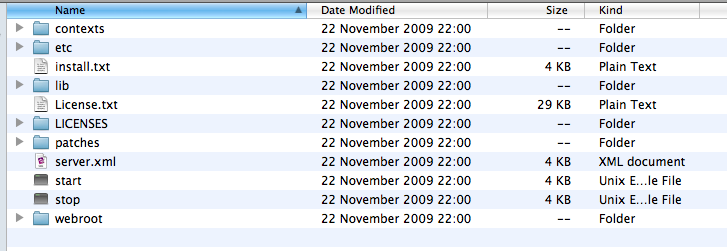
Grab those files and drag them into your eclipse project: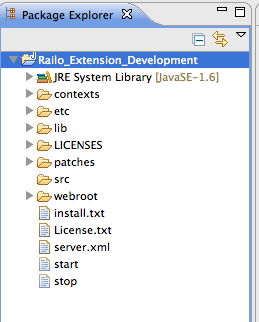
Now we need to be able to start the server in a debug mode, but to do this we need to create a User Library which will include all of the JAR files that are used in the Jetty server, so right click on your project, select Build Path -> Add Libraries... :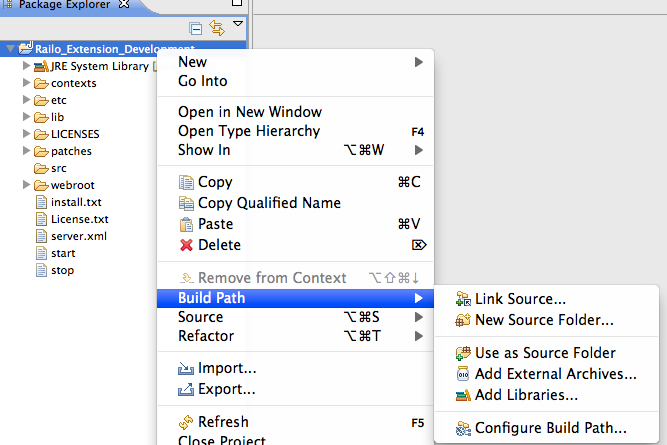
Select User Library: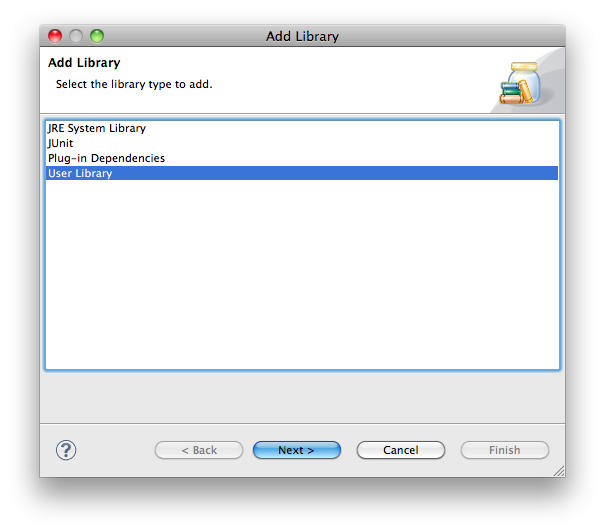
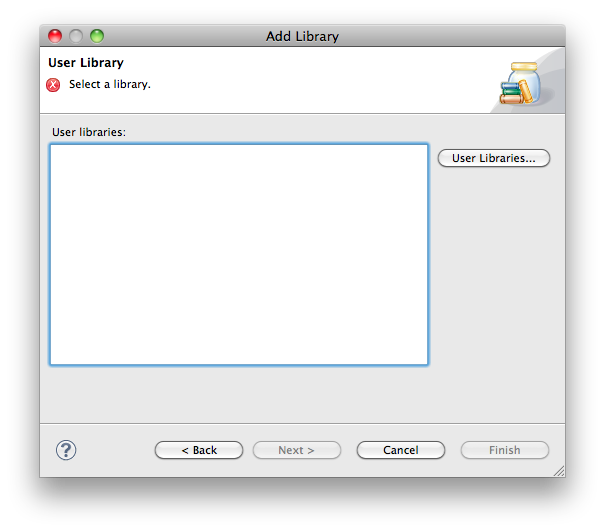
Click User Libraries... and create a New User Library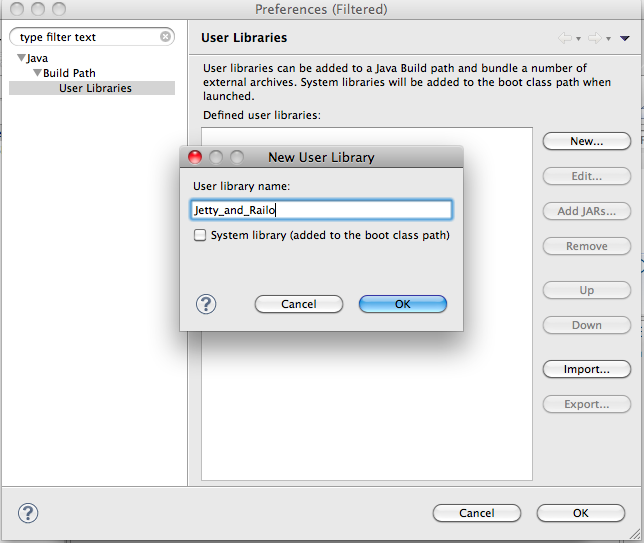
Now browse to where you created the project, in my case: /Users/markdrew/Documents/workspace_36_demo/Railo_Extension_Development and go into the lib folder to add all the JARs: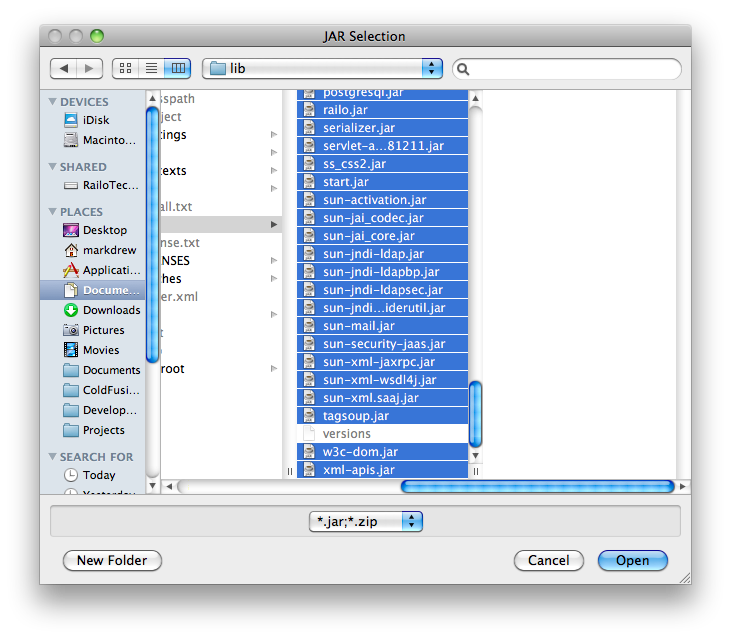
You should now have a listing of all the JARS as a new user library: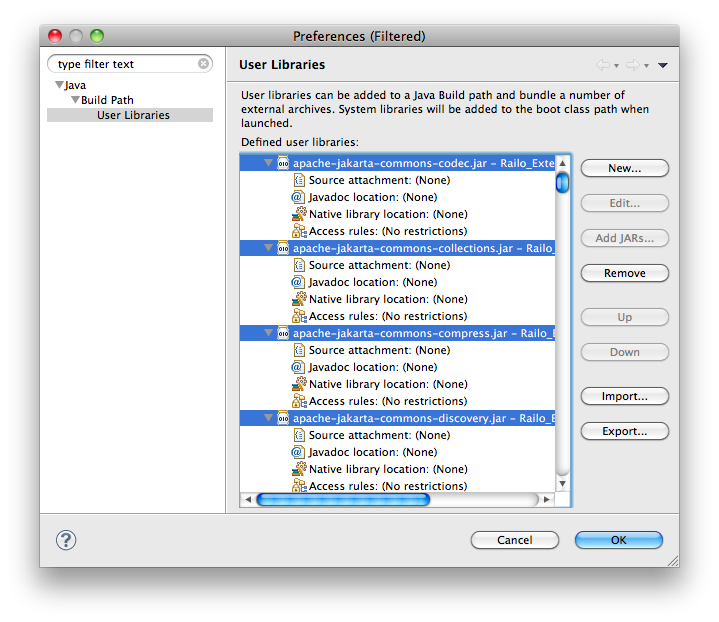
Click OK
Now you should have a new user library called Jetty_and_Railo that you can see in your project: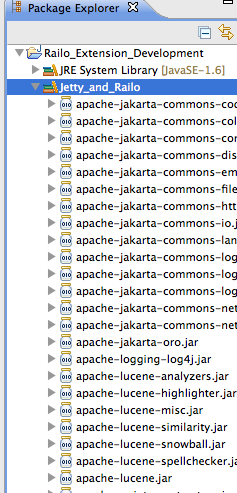
Now we can create a debug configuration for Jetty so we can start it in a debug mode: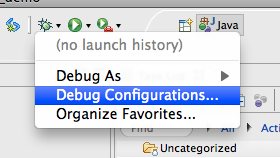
Create a new Java Application configuration:
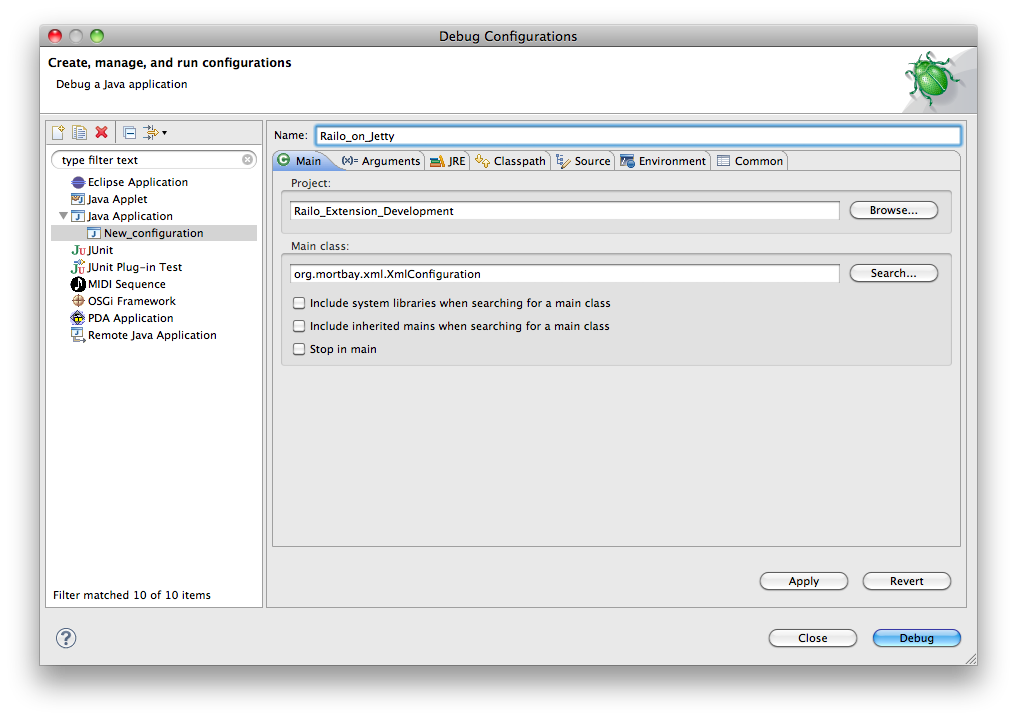
And now we change the arguments: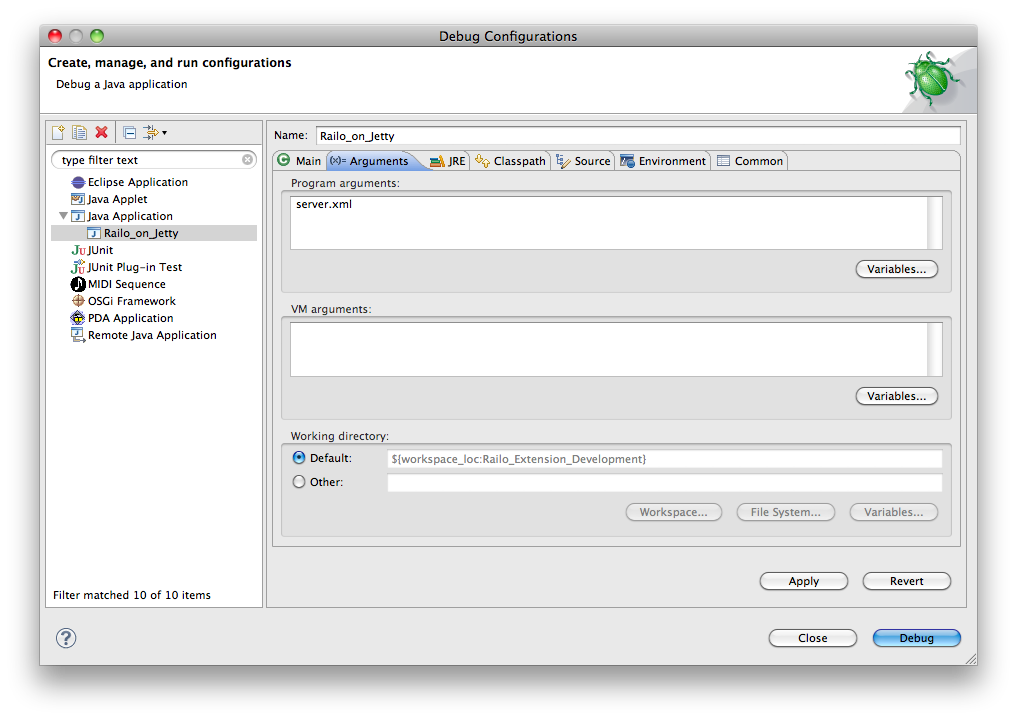
And now click apply and Debug.
All going well the console should startup with a lot of output and in red you should have something as follows:
Now we can try going to http://localhost:8888/ and you should get the Railo Web Administrator, so go ahead and put in your new password for the web and server contexts.
If all has gone well, you are now running railo in a Java debug session which is a big way towards our goal!
In the next post I shall look at creating a sample extension and debugging it.