Easy Railo/Lucee App Development with Vagrant
At CMD we are developing a number of applications that are based on the ~~Railo~~ Lucee application server. ~~Railo~~ Lucee runs on any Java servlet container and setting up development environments that mimic the live environment can take up some time.
The problem comes when you get a new person on board and you then start describing your environment. This is where Vagrant comes in really handy.
Vagrant essentially does two things:
- Starts a Virtual Machine (The client machine)
- Shares and keeps in sync code on your machine (the host) with the client
This means that if you can describe what is required your development environment is, you can probably run it on Vagrant
The lucky thing here is that I have a similar (ubuntu) setup for my live servers defined in a script so I can re-use some of this. Let's step through this and see how we can get ~~Railo~~ Lucee working nicely:
###1. Setting up Vagrant First download Vagrant and install it following the instructions here: https://docs.vagrantup.com/v2/installation/index.html
Then, in the same folder that you have all your code run the following command:
vagrant init "hashicorp/precise32"
Which should reply (if you installed Vagrant correctly) with:
A `Vagrantfile` has been placed in this directory. You are now
ready to `vagrant up` your first virtual environment! Please read
the comments in the Vagrantfile as well as documentation on
`vagrantup.com` for more information on using Vagrant.
Let's start the box:
vagrant up
After a few moments it should provide a bunch of output and it will end with
		...
		...
	    default: Guest Additions Version: 4.2.0
	    default: VirtualBox Version: 4.3
	==> default: Mounting shared folders...
	    default: /vagrant => /Users/markdrew/Sites/demosite
That's it! A Virtual Machine has started up, of course there is nothing on it, but we have a machine running. Also, as you can see above, it has mapped the /vagrant folder on the client machine to the current folder we are in, /Users/markdrew/Sites/demosite, so this is how you can get access to your files. Next let's log in via ssh to the machine:
vagrant ssh
After a few seconds you should get a greeting something like:
Welcome to Ubuntu 12.04 LTS (GNU/Linux 3.2.0-23-generic-pae i686)

 * Documentation:  https://help.ubuntu.com/
New release '14.04.1 LTS' available.
Run 'do-release-upgrade' to upgrade to it.

Welcome to your Vagrant-built virtual machine.
Last login: Fri Sep 14 06:22:31 2012 from 10.0.2.2
###2. Setting up Tomcat We could setup tomcat directly in our VM but that would mean it's just installed in MY machine. A better way is to ask Vagrant to run some script after it has done starting up.
To do this we need to edit the Vagrantfile. At first this will seem packed with stuff, but if you remove all the comments you will see it basically contains the following:
# -*- mode: ruby -*-
# vi: set ft=ruby :
VAGRANTFILE_API_VERSION = "2"
Vagrant.configure(VAGRANTFILE_API_VERSION) do |config|
  config.vm.box = "hashicorp/precise32"
end
Which basically says we are using the "hashicorp/precise32" image for this VM. We are going to now tell it to run a script when we boot up. To do this add:
Vagrant.configure(VAGRANTFILE_API_VERSION) do |config|
  config.vm.box = "hashicorp/precise32"
  config.vm.provision :shell, path: "bootstrap.sh"
  config.vm.network "private_network", ip: "192.168.33.10"
end
The line that says:
config.vm.provision :shell, path: "bootstrap.sh"
tells Vagrant to run the boostrap.sh file when it is provisioning the box. The line that says:
config.vm.network "private_network", ip: "192.168.33.10"
tells Vagrant what local IP we want to the box to use.
To reload those changes, from the host system, all you have to do is type:
vagrant reload --provision
You will get used to this command when making configuration changes. Since there is no bootstrap.sh in our path we will get an error like:
* `path` for shell provisioner does not exist on the host system: /Users/markdrew/Sites/demosite/bootstrap.sh
Add a bootstrap.sh file and put the following in the file to install Tomcat 7:
sudo apt-get -y update
sudo apt-get -y install tomcat7
Now when you do vagrant reload --provision you should get a lot of output and somewhere amongs it you should have seen that tomcat has been installed:
==> default:  * Starting Tomcat servlet engine tomcat7
==> default:    ...done.
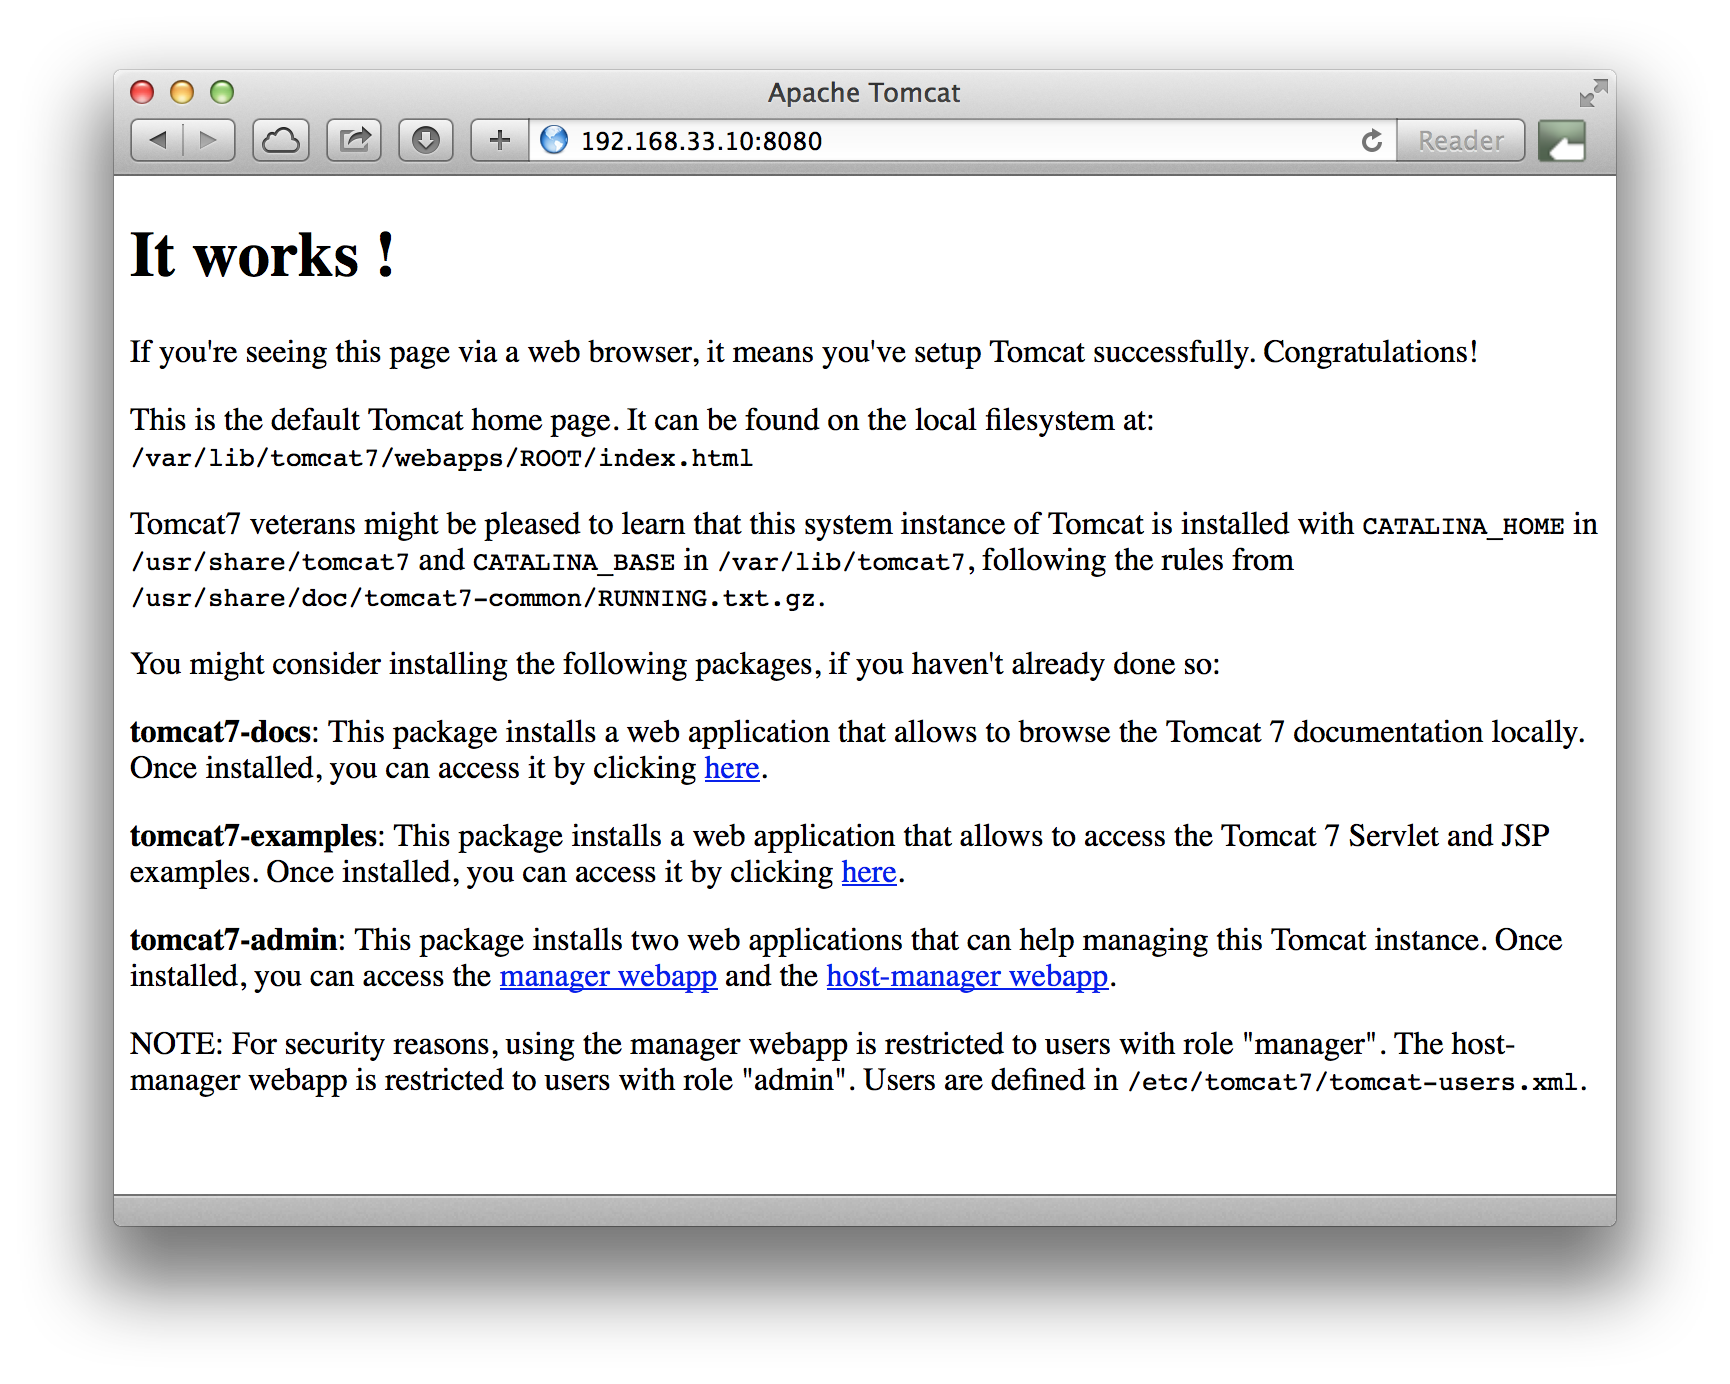
To test if it is running, we need to head to http://192.168.33.10:8080 and hopefully you will see:
###3. Setting up ~~Railo~~ Lucee
So far, in our project directory, we only have a Vagrantfile and a bootstrap.sh it's time to put our configuration files and run ~~Railo~~ Lucee. First off, let's get ~~Railo~~ Lucee installed. For this I downloaded the ~~WAR version~~ WAR version from http://lucee.org/downloads.html
I did the following after moving the war file into our project directory:
> mkdir webroot
> unzip lucee-4.5.1.000.war -d webroot/
We now have a folder called webroot/ with the ~~railo~~ Lucee WEB-INF/ folder inside that. Let's create a hello world so we know it's working. Inside webroot/ create a file named index.cfm with the following:
<cfoutput>
	Hello! It's #Now()#
</cfoutput>
Now, I usually modify the tomcat server.xml to point to the /vagrant/webroot, but instead of just changing it in our client VM, let's create a folder called configs/ in our project to hold all our configurations, and then go into our VM to copy the Tomcat server.xml file there:
> mkdir configs
> vagrant ssh
> cp /etc/tomcat7/server.xml /vagrant/configs
> exit
If you look in the configs/ folder in your project you will now see the tomcat server.xml file in there. Let's edit it. Find the section that says:
<Host name="localhost"  appBase="webapps" unpackWARs="true" autoDeploy="true">
   ...
  </Host>
And add the line as below immediately after the opening <Host> tag:
<Host name="localhost"  appBase="webapps" unpackWARs="true" autoDeploy="true">

	<Context path="" docBase="/vagrant/webroot" />
   ...
  </Host>
Now, let's tell Vagrant that we want to copy this file whenever we reload, by adding it to the bootstrap.sh
sudo apt-get -y update
sudo apt-get -y install tomcat7
cp /vagrant/configs/server.xml /etc/tomcat7/server.xml
sudo service tomcat7 restart
Now, after we install tomcat (although tomcat is already installed by this point, more on this later) we copy the server.xml file from our vagrant folder to tomcat and restart the service.
To give this a go, we do our vagrant reload --provision and if you go to http://192.168.33.10:8080/ you will get:
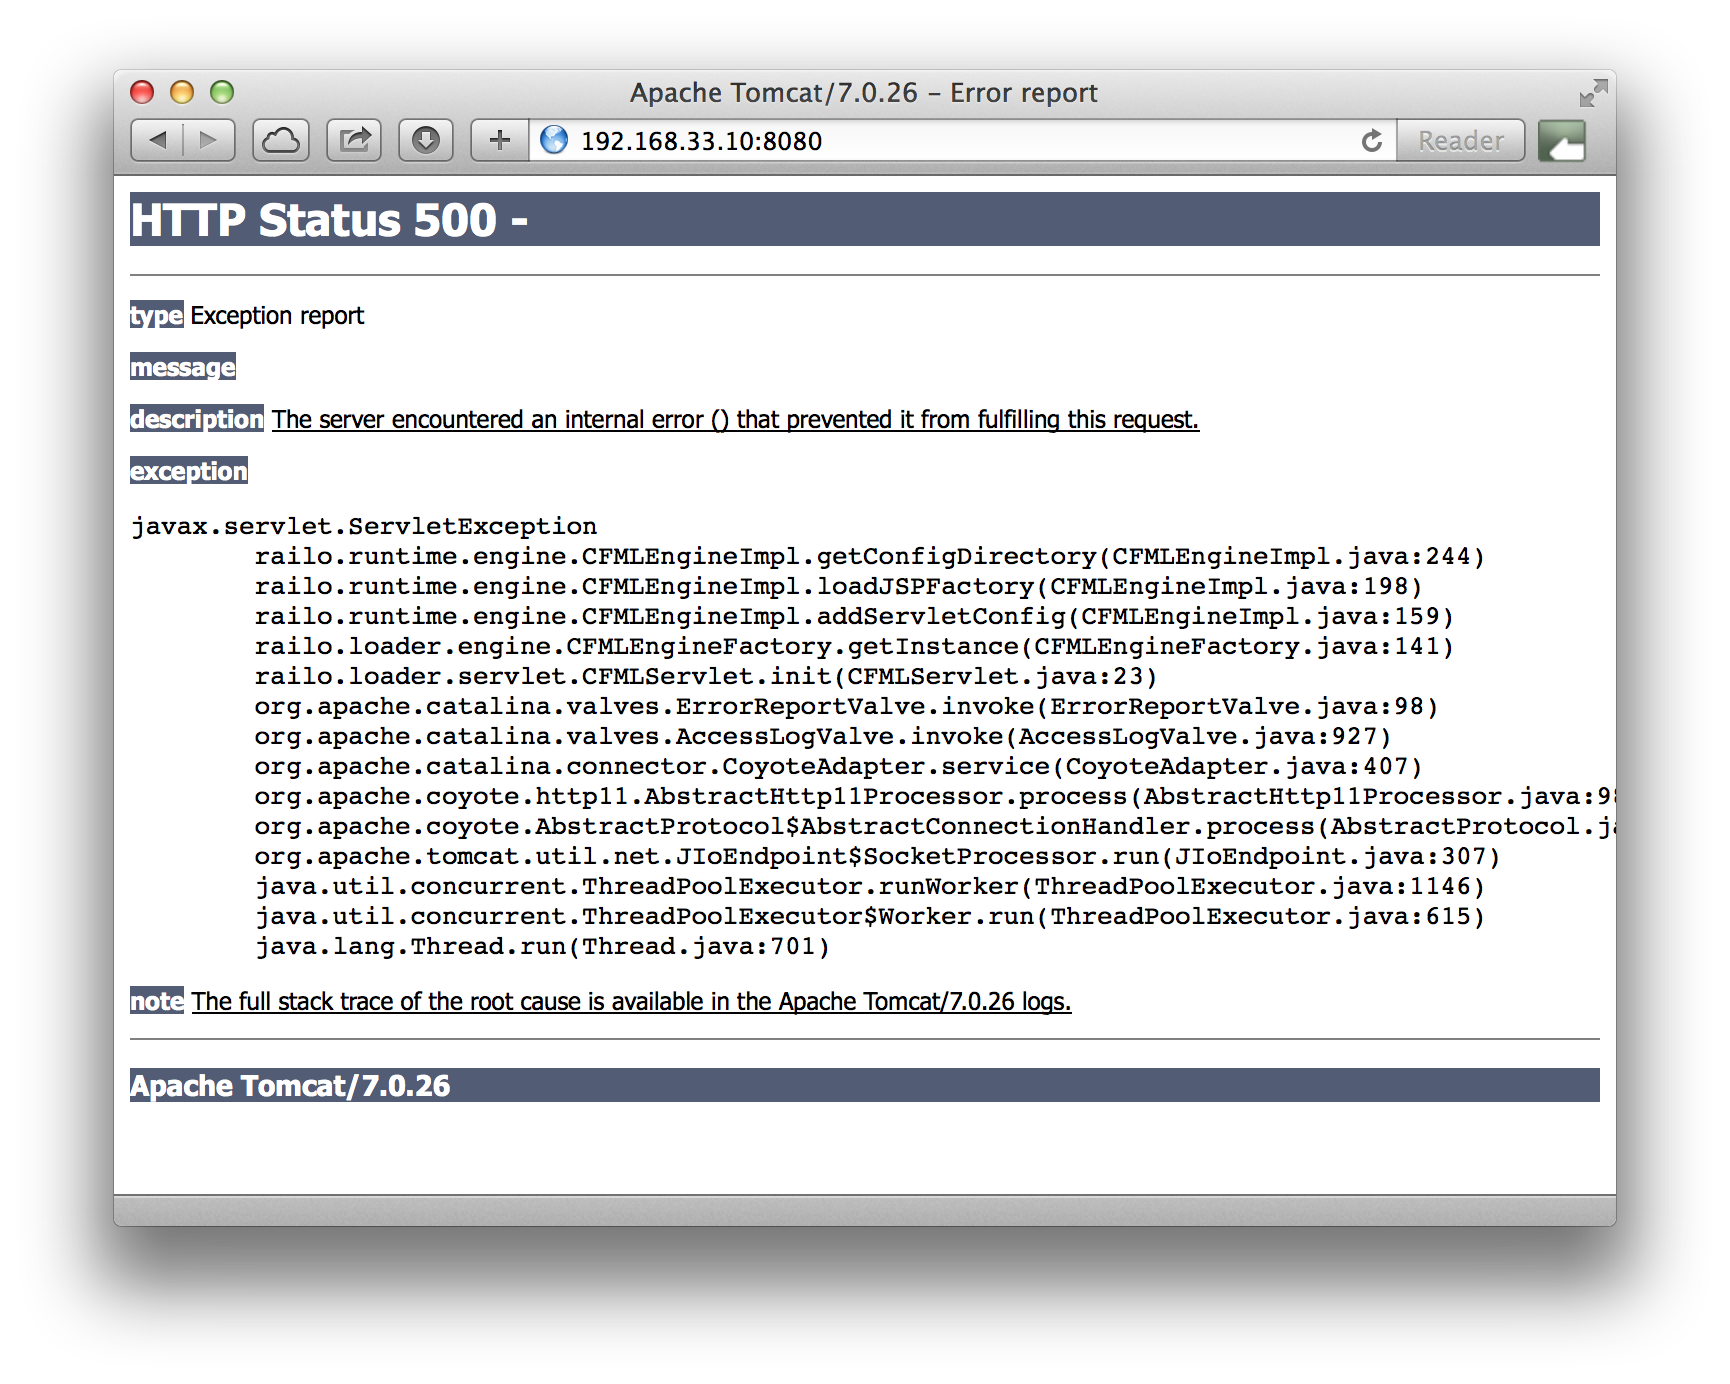
Oops. Well, this is an issue with permissions (as 90% of problems tend to be in my experience). To get round this we are going to create a new folder mapping called /sites/webroot that will be owned by the tomcat7 user. This is fairly simple, as we can just add it to our Vagrantfile:
Vagrant.configure(VAGRANTFILE_API_VERSION) do |config|
  config.vm.box = "hashicorp/precise32"
  config.vm.provision :shell, path: "bootstrap.sh"
  config.vm.network "private_network", ip: "192.168.33.10"
  config.vm.synced_folder "webroot/", "/sites/webroot", owner: "tomcat7"
end
Now let's change our context in the configs/server.xml to point to our new mapping :
<Host name="localhost"  appBase="webapps" unpackWARs="true" autoDeploy="true">
	<Context path="" docBase="/sites/webroot" />
	...
</Host>
Once we reload the VM with vagrant reload --provision everything should work:
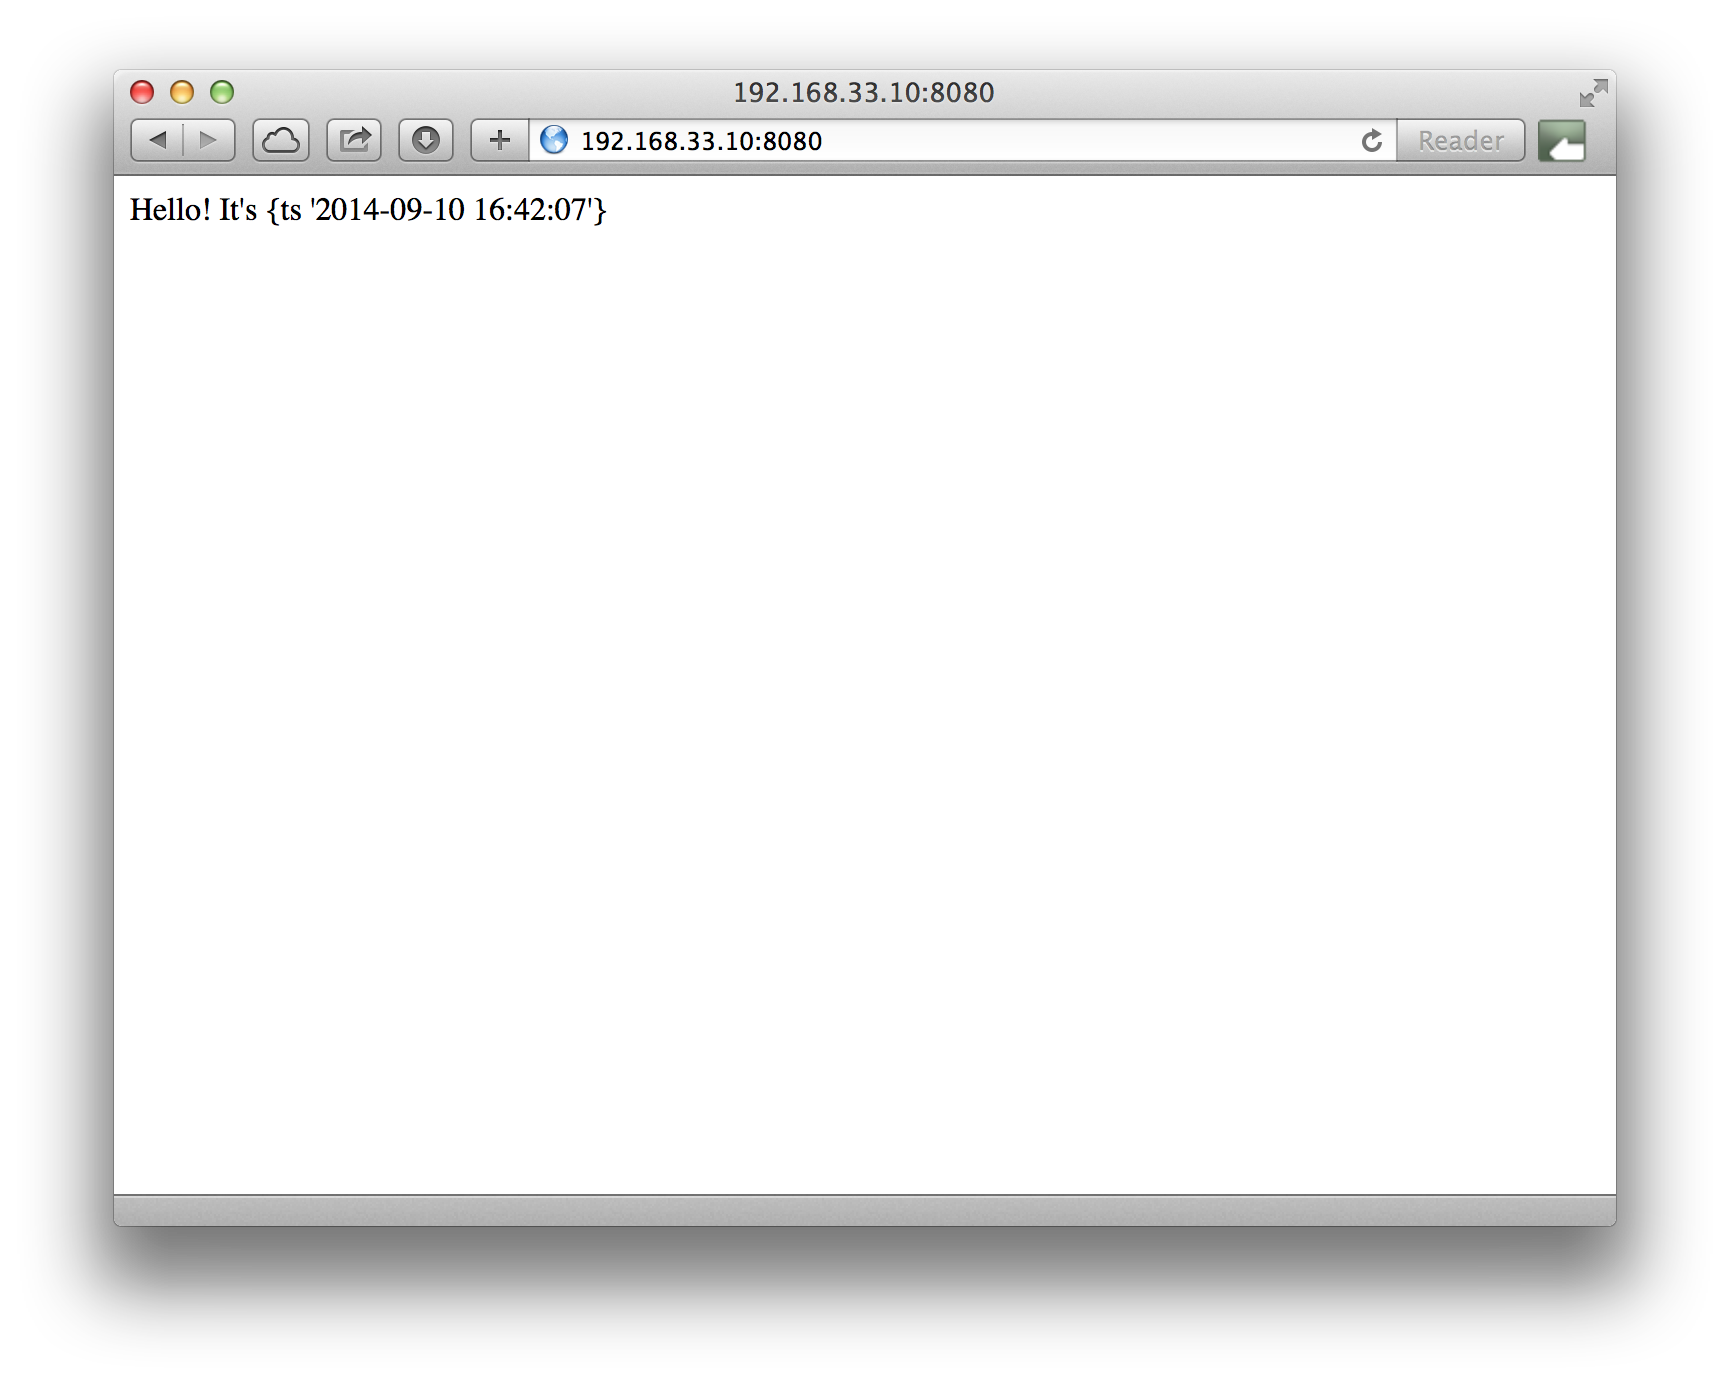
Now you can edit all the files in your webroot without having to reload the whole vm and the changes will be synched and you can develop as usual, with your client tools and let the server work out in the VM.
Edit: Since this post was written a few people have created their own, much better versions of Lucee (nee Railo) boxes, A good start is to check out Dan Skaggs's Vagrant Centos Lucee box which is pretty damn awesome.